
Installing ST-Link v2 to flash STM32 targets on Linux – old version
This article has a newer version.
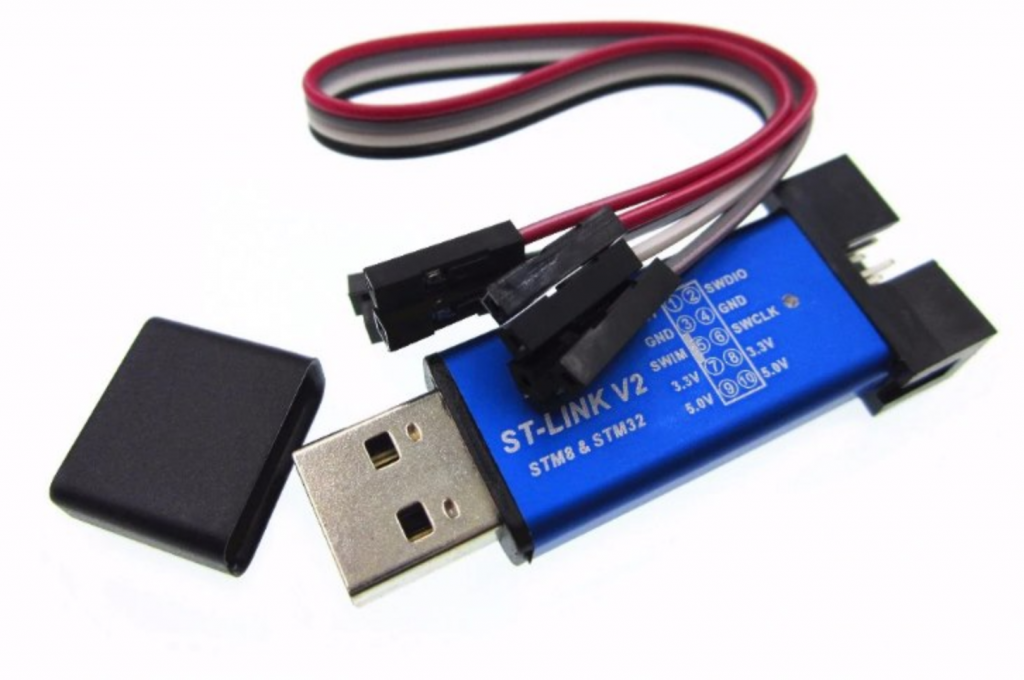
This guide is targeting Linux users and ST-Link v2 hardware.
First, we are going to install the necessary libraries and build tools:
sudo apt-get install git make cmake libusb-1.0-0-dev
sudo apt-get install gcc build-essential
Now, we will download and build the ST-Link utilities:
cd ~myusername
mkdir stm32
cd stm32
git clone https://github.com/texane/stlink
cd stlink
cmake .
make
Now we copy the built binaries to their place:
cd bin
sudo cp st-* /usr/local/bin
then udev rules:
sudo cp stlink/config/udev/rules.d/49-stlinkv* /etc/udev/rules.d/
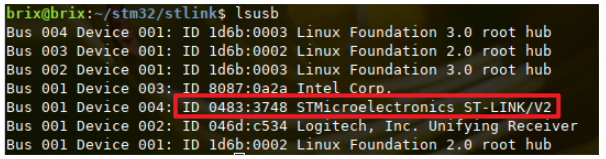
Now, plug the ST-Link device into the USB port, but DON’T CONNECT the target board, then type:
lsusb
If everything went OK, you should see something like this:
then:

Then, keeping the ST-Link device plugged, and still NO TARGET BOARD CONNECTED, then type:
st-flash --debug read dummy.file 0 256
You should see something like:
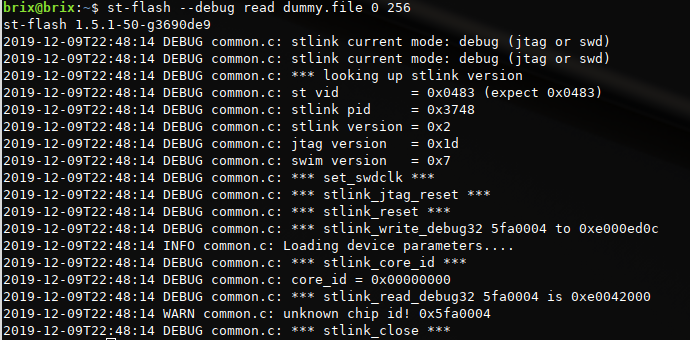
We can decide it is correctly installed.
Please add comments if you encounter any issue using this guide. I hope it will help you.
Thanks texane for doing the hard work!
Check these articles related to STM32.

